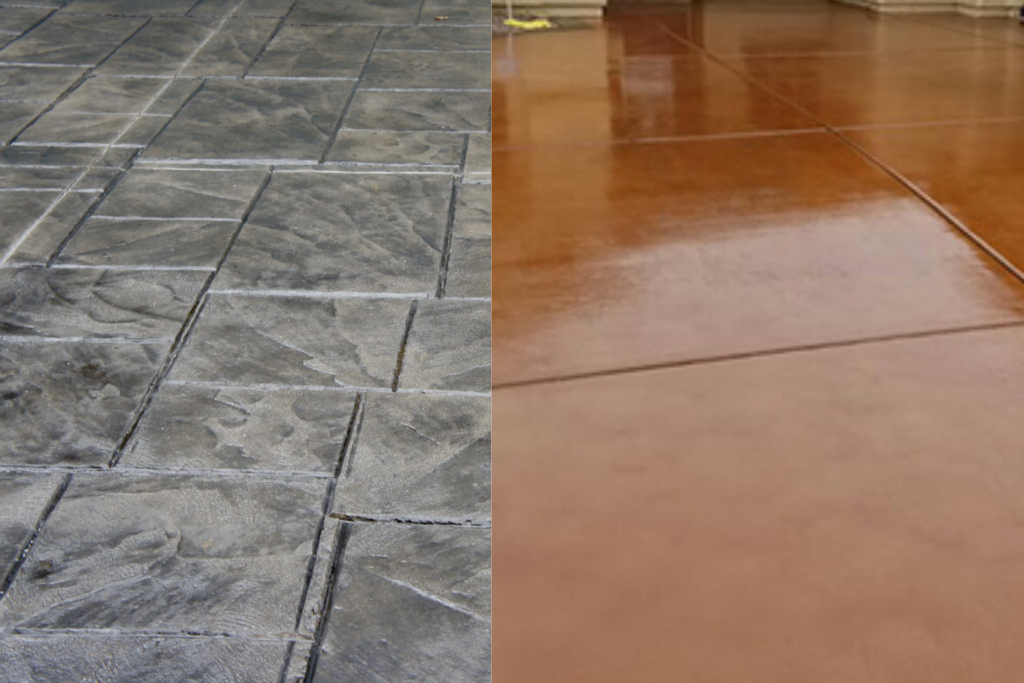
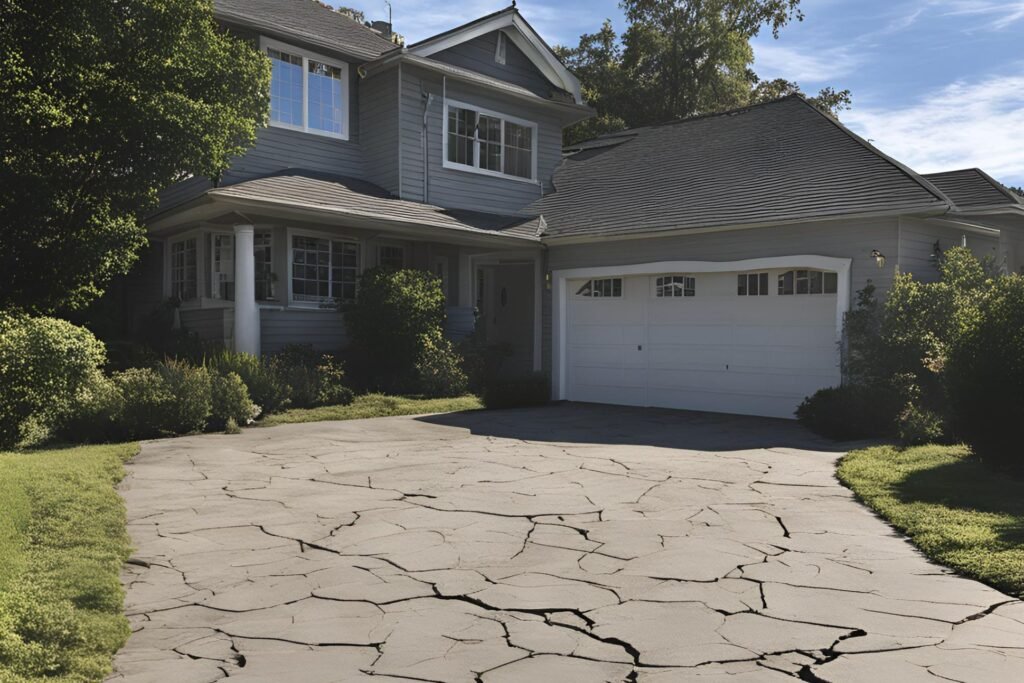
Welcome to your ultimate guide on how to repair an old cracked concrete driveway! Whether you’re dealing with minor hairline cracks or more noticeable damage, you’re not alone—concrete driveways naturally wear down over time due to weather, heavy use, and shifting ground. Left untreated, those cracks can lead to bigger issues like water damage or uneven surfaces, making it not just a cosmetic concern but a potential safety hazard. Fortunately, repairing your driveway is easier than you might think, and in this post, we’ll walk you through the step-by-step process to fix those cracks yourself, save money, and restore your driveway to its former glory. Let’s get started.
To repair an old cracked concrete driveway, start by cleaning the surface thoroughly with a pressure washer or broom. Widen the cracks slightly using a chisel if needed, then use a concrete crack filler or patching compound to fill them. For larger cracks, mix concrete patch and apply with a trowel. Once the repair material is dry, consider applying a concrete resurfacer to restore the entire driveway’s surface. Finally, seal the driveway to prevent future cracks caused by water and weather. Regular maintenance can help extend the life of your driveway.
Table of Contents
Why Do Driveways Crack? Common Causes Explained
A well-constructed concrete driveway is designed to withstand the test of time, but even the most carefully laid concrete can begin to crack over the years. Understanding the reasons behind driveway cracks is crucial for proper maintenance and extending the lifespan of your investment.
Brief Overview of Concrete Wear and Tear
Concrete is a durable material, but it’s not invincible. Over time, various factors contribute to the natural wear and tear of your driveway, leading to cracks and imperfections.
1. Temperature Fluctuations (Freeze-Thaw Cycles)
One of the most common causes of driveway cracks is temperature changes. In colder climates, when temperatures drop below freezing, water can seep into tiny cracks and crevices in the concrete. As the water freezes, it expands, causing the concrete to crack. This process repeats itself with each freeze-thaw cycle, making the cracks progressively worse over time.
2. Soil Movement and Settling
The ground beneath your driveway is constantly shifting, even if it’s not noticeable to the naked eye. This can happen due to natural soil settling, erosion, or nearby construction. When the soil moves, it can create pressure points under the driveway, leading to cracks as the concrete tries to adapt to these shifts.
3. Heavy Loads or Traffic
Driveways bear the weight of cars, trucks, and other vehicles on a daily basis. Over time, repeated exposure to heavy loads, especially from larger vehicles, can cause stress on the concrete surface. While concrete is designed to handle significant weight, frequent heavy loads can weaken the material, resulting in cracks or depressions.
4. Water Penetration and Erosion
Water is one of the biggest enemies of concrete driveways. When water penetrates the surface and seeps into the underlying layers, it can cause the soil to erode or become unstable. Over time, this weakens the support structure, making the concrete more prone to cracking. Proper drainage is essential to prevent water from pooling on the surface and exacerbating these issues.
5. Age and General Wear Over Time
Like any other material, concrete has a lifespan. As driveways age, they naturally begin to show signs of wear and tear. Over years of exposure to the elements, the surface weakens, making it more susceptible to cracks and imperfections. Regular maintenance and upkeep can help prolong the life of your driveway, but aging is an inevitable factor in the development of cracks.
The Importance of Early Detection
Catching cracks early can make a significant difference in the long-term health of your driveway. Small cracks, if left untreated, can expand and worsen, leading to larger, more costly repairs down the line. Timely intervention allows for simpler fixes, such as crack sealing or patching, which can prevent the need for a complete driveway replacement in the future.
By regularly inspecting your driveway and addressing minor cracks as soon as they appear, you can prevent further damage and extend its lifespan. Early detection is key to saving money and avoiding major headaches.
Transition
Now that we have a better understanding of the common causes of driveway cracks, let’s explore the most effective methods for repairing and preventing them. Taking proactive steps to address cracks can help keep your driveway in great condition for years to come.
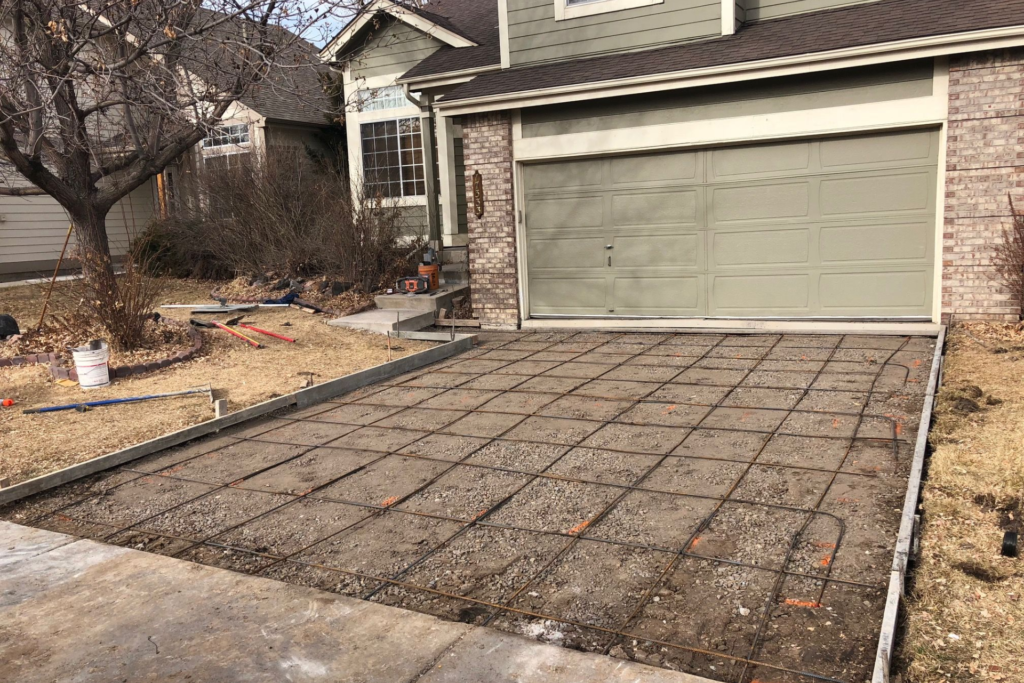
Assessing The Damage: When To Repair Vs. Replace
When it comes to deciding whether to repair or replace your driveway, understanding the extent of the damage is critical. A well-executed repair can prolong the lifespan of your driveway, but in some cases, replacement may be the more practical solution. Here’s how you can assess the damage and make the right call.
1. Examine the Extent of the Cracks
Cracks in your driveway are inevitable over time, but not all cracks are the same. Here’s how to differentiate between them:
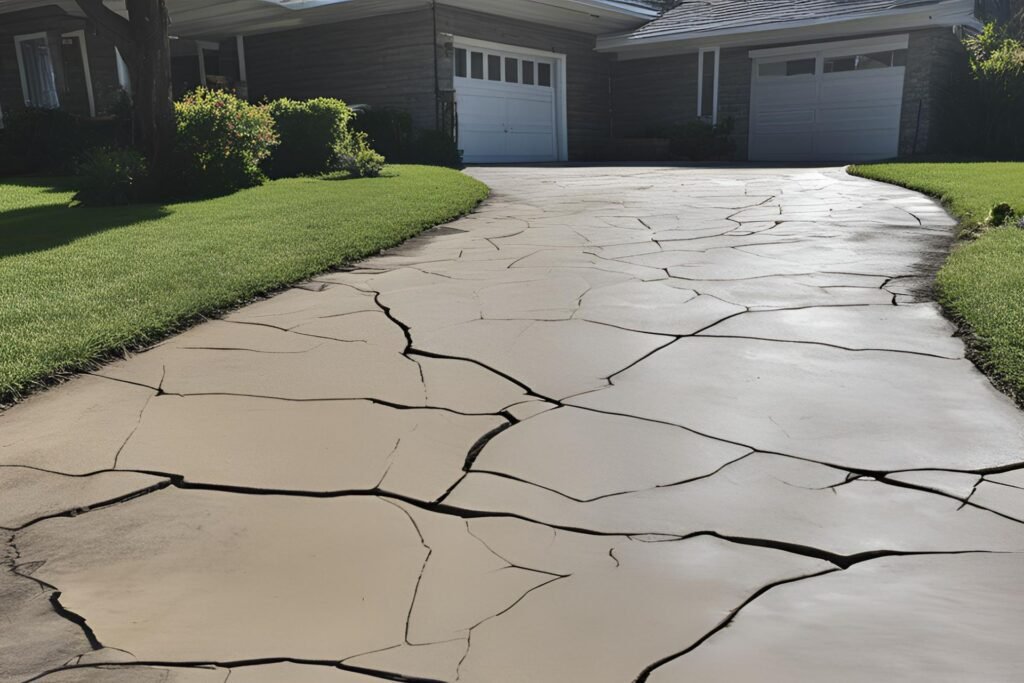
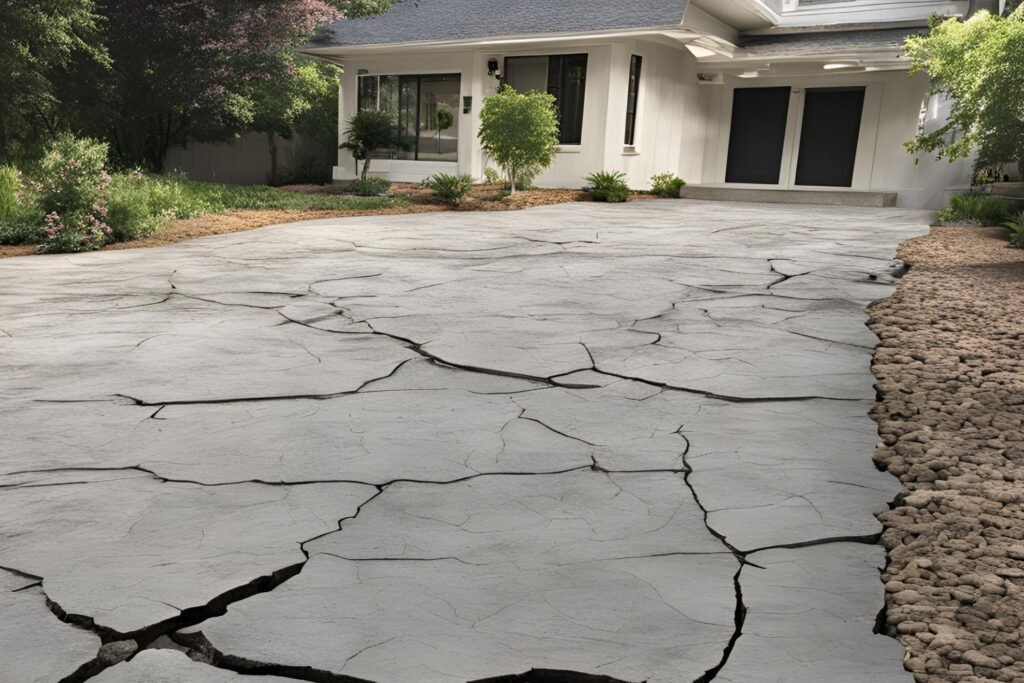
- Hairline Cracks: These are fine, surface-level cracks that often appear due to natural shrinkage of concrete as it cures. They are usually less than 1/16 of an inch wide and, while they may look unsightly, they typically don’t indicate structural issues. Repairing these is straightforward, often involving filling them with a concrete patch or sealant.
- Minor Cracks: Slightly larger than hairline cracks, these range from 1/16 to ¼ of an inch wide. They may require more attention than hairline cracks but can usually still be repaired without much hassle. You can use a ruler or crack measurement tool to determine their width—anything less than ¼ inch wide generally falls into the repairable category.
- Deep or Fissured Cracks: These are more severe, often over ¼ inch wide, and may extend deeper into the concrete. Deep cracks can be a sign of underlying problems, such as foundation issues or shifting ground. In this case, patching might not be enough, and a professional inspection could be necessary to decide whether repair or replacement is the best course of action.
2. Visual Inspection for Underlying Issues
Cracks are just one aspect to consider. It’s also important to perform a broader visual inspection for signs of underlying problems. Here are a few things to look out for:
- Drainage Issues: If you notice water pooling on your driveway or nearby, it could be an indication of poor drainage. Over time, water can seep into cracks and exacerbate damage, leading to more serious issues like sinking or erosion.
- Shifting Ground: If your driveway appears uneven or is starting to sink in certain areas, it may be due to unstable soil beneath the surface. This can cause larger cracks and further deterioration of the concrete. In such cases, simple repairs may not hold, and a replacement might be necessary.
3. When Replacement is Necessary
While minor and hairline cracks can often be repaired with DIY methods, there are situations where replacing the driveway may be the more cost-effective solution in the long run. Here’s when you should consider replacement:
- Severe Damage: If large sections of your driveway are crumbling or breaking apart, it’s likely beyond repair. Sinking areas, extensive cracking, and significant erosion are signs that the structural integrity of the concrete has been compromised.
- Multiple or Deep Cracks: If the driveway has numerous deep fissures or if repairs have been attempted multiple times with little success, replacing the entire slab might be the best option to prevent future problems.
Transition: For smaller cracks and general repairs, DIY solutions can help maintain your driveway and prevent further damage.
In summary, carefully assess the severity of the cracks and any underlying issues before deciding whether to repair or replace. Minor cracks are often easily fixed, while more extensive damage may require professional intervention or complete replacement. With this understanding, you can make an informed decision that will save you time, money, and effort.

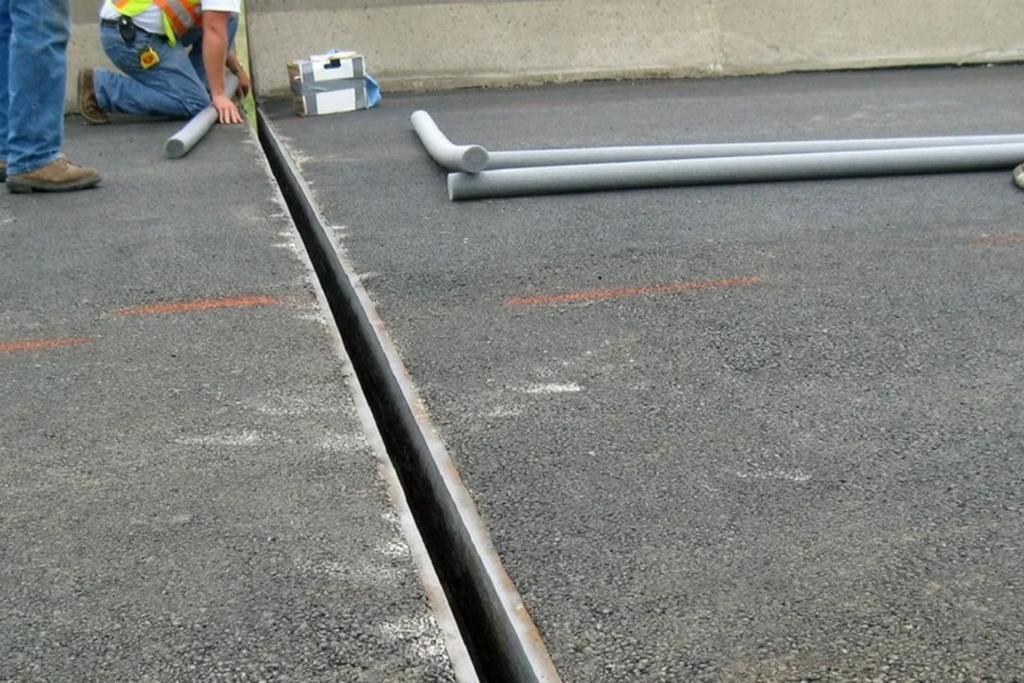
Tools And Materials You’ll Need For Repair
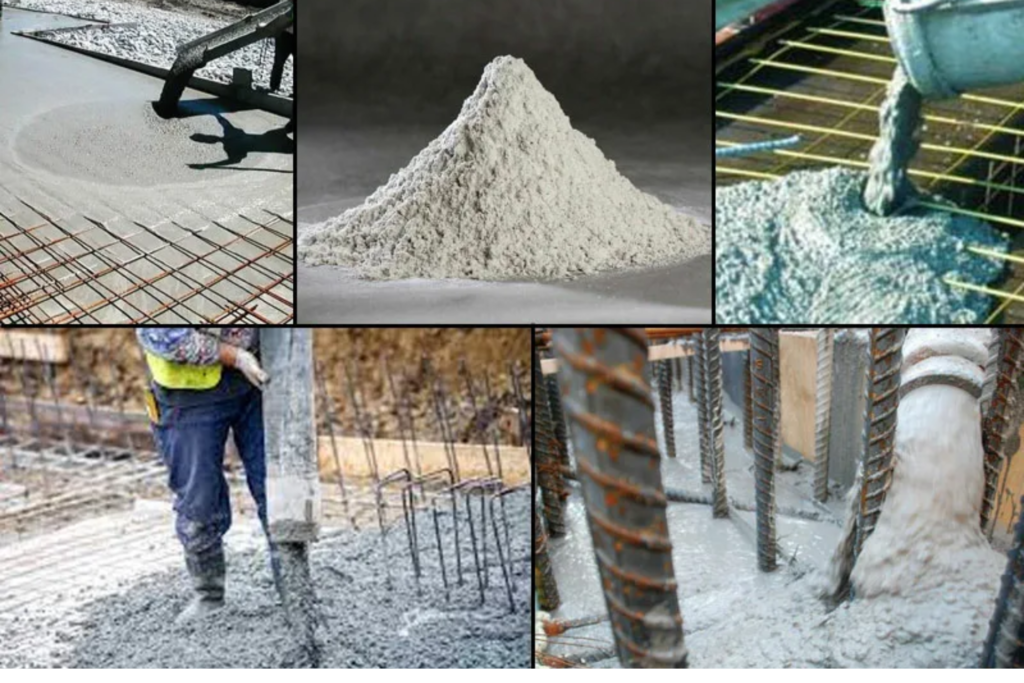
When it comes to repairing concrete surfaces, having the right tools and materials on hand is crucial for ensuring a long-lasting, professional result. Whether you’re fixing minor cracks or resurfacing a larger area, the proper equipment not only makes the job easier but also ensures a durable and seamless finish. Below is a detailed list of the essential tools and materials you’ll need, along with a few optional items that can enhance the quality and durability of your repair work.
Materials You’ll Need for Concrete Repair
1. Crack Filler
Crack filler is a must-have for any concrete repair job. Depending on the type and size of the crack, you’ll need to choose between different materials like epoxy, concrete patch, or caulking. Epoxy works well for small, narrow cracks, while concrete patch or caulking is more suited for wider gaps. These materials help seal the cracks and prevent further damage caused by moisture penetration or freeze-thaw cycles.
2. Concrete Resurfacer
For larger repairs or resurfacing an old, worn-out slab, a concrete resurfacer is essential. This product is designed to give your concrete a fresh, smooth finish and can be applied over an existing surface to mask imperfections or damage. It’s particularly helpful if you’re working on driveways, patios, or sidewalks where aesthetics matter.
Tools to Assist Your Concrete Repair Process
1. Chisel and Hammer
When preparing the surface for repair, especially for widening narrow cracks, a chisel and hammer will come in handy. By creating a wider opening, you allow the filler to adhere better to the concrete, which leads to a more effective and long-lasting repair.
2. Wire Brush and Broom
A wire brush is perfect for cleaning out debris, dirt, and loose concrete from cracks or the repair area. Following that, use a broom to sweep away the dust. Ensuring a clean surface is key to achieving good adhesion with the filler or resurfacer.
3. Pressure Washer (or High-Pressure Hose)
For deep cleaning and removing stubborn dirt, mold, or old paint, a pressure washer is a powerful tool. If you don’t have access to one, a hose with a high-pressure nozzle can be an adequate alternative. This step is important as a clean surface allows the repair material to bond effectively to the concrete.
4. Trowel or Putty Knife
To apply the crack filler or resurfacer smoothly, you’ll need a trowel or putty knife. These tools help ensure that the filler is evenly spread and worked into the cracks, resulting in a neat and seamless finish.
5. Gloves and Safety Goggles
Safety should always come first. Concrete repair materials, especially epoxies and caulks, can be harsh on the skin and eyes. Wearing gloves and safety goggles will protect you while working with these potentially hazardous substances.
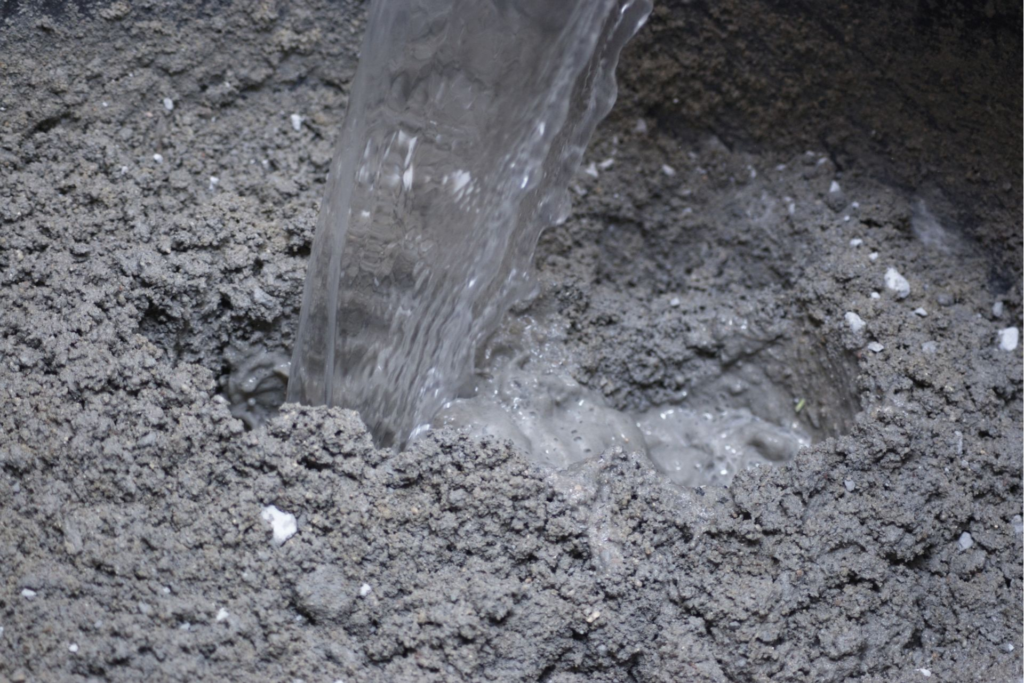
6. Bucket and Water
Many concrete repair compounds require mixing with water. A bucket and water supply will allow you to properly mix the material to the correct consistency. Ensuring the proper mixture is key to the durability and effectiveness of your repair.
Optional but Helpful Materials
1. Concrete Sealant
After completing your repair, applying a concrete sealant can help waterproof and protect the surface from future damage. Sealants form a barrier against moisture, chemicals, and weathering, extending the life of your repair work.
2. Concrete Bonding Agent
A concrete bonding agent is an optional but recommended addition to your repair kit. This product ensures that the new concrete or filler bonds securely to the old surface, reducing the chances of future cracks or separation.
Final Note on Materials Availability
Rest assured, most of these tools and materials are easy to find at your local hardware store or home improvement center. With the right supplies in hand, even a novice DIYer can tackle a concrete repair project with confidence and achieve professional-looking results.
By equipping yourself with the right tools and materials, you’ll be well-prepared to handle any concrete repair job that comes your way. Whether you’re sealing a small crack or resurfacing an entire slab, following these recommendations will ensure that your repairs are long-lasting and look great for years to come.

Step-By-Step Guide To Repairing Cracks In Your Concrete Driveway
Concrete driveways are durable, but over time, cracks can appear due to weather conditions, wear, and settling. Repairing these cracks not only enhances the visual appeal of your driveway but also prolongs its life by preventing further damage. Below, we’ll take you through a step-by-step process to repair cracks in your concrete driveway and keep it looking its best.
Step 1: Clean the Area Thoroughly
The first step to repairing cracks in your concrete driveway is ensuring the surface is clean and free of debris. Begin by sweeping away loose dirt, dust, and small particles with a broom. This step helps you to clearly see the crack and ensures that no contaminants interfere with the repair process.
For a deeper clean, particularly if there’s stubborn dirt lodged in the cracks, a pressure washer can be highly effective. Focus the washer’s nozzle directly on the crack and surrounding area to blast away any remaining particles. The goal is to remove all loose debris, which can prevent proper adhesion of the filler later on.
- Pro Tip: Make sure the cracks are fully dry before proceeding to the next step. Moisture can affect the bonding strength of the filler or patching material.
Step 2: Prepare the Cracks for Filling
To ensure the filler adheres well and creates a lasting repair, you’ll need to widen the cracks slightly. Use a chisel and hammer to carefully enlarge the crack if necessary. This step is especially important for narrow cracks that may not provide enough surface area for the filler to bind securely. By widening the crack, you create a better foundation for the repair material.
Next, use a wire brush to scrub away any loose concrete, dust, or small debris left behind. This final cleaning step prepares the crack for the filler, helping it bond more effectively and ensuring a smoother finish.
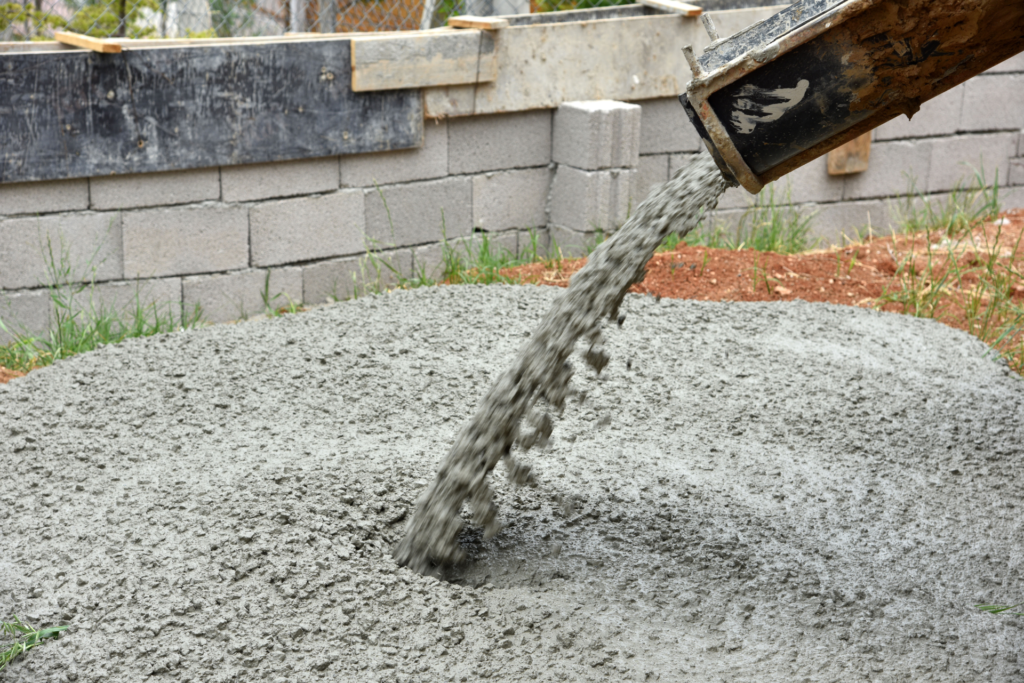
Step 3: Fill the Cracks Based on Their Size
The method of filling the cracks in your concrete driveway depends on their size.
- For Small Cracks: Use a concrete crack filler or caulk specifically designed for small cracks. You can either apply it directly from the tube or use a caulking gun for more control. Simply squeeze the filler into the crack, ensuring that it fills the entire space.
- For Larger Cracks: If the cracks are wider or deeper, you’ll need a stronger solution. Mix a concrete patch compound in a bucket until it reaches a smooth, spreadable consistency. Using a trowel, carefully fill the crack with the patching material, ensuring you pack it firmly. Smooth out the surface with the trowel to blend the patch with the surrounding concrete, avoiding any bumps or uneven areas.
Step 4: Allow the Filler to Cure
Patience is key when it comes to repairing concrete cracks. Once the filler or patching compound has been applied, it’s important to let it cure properly. Follow the manufacturer’s instructions for curing times—typically, this will take around 24 hours, but times may vary depending on the product you use and local weather conditions.
During the curing process, keep the area protected from heavy foot or vehicle traffic to ensure the repair sets properly.
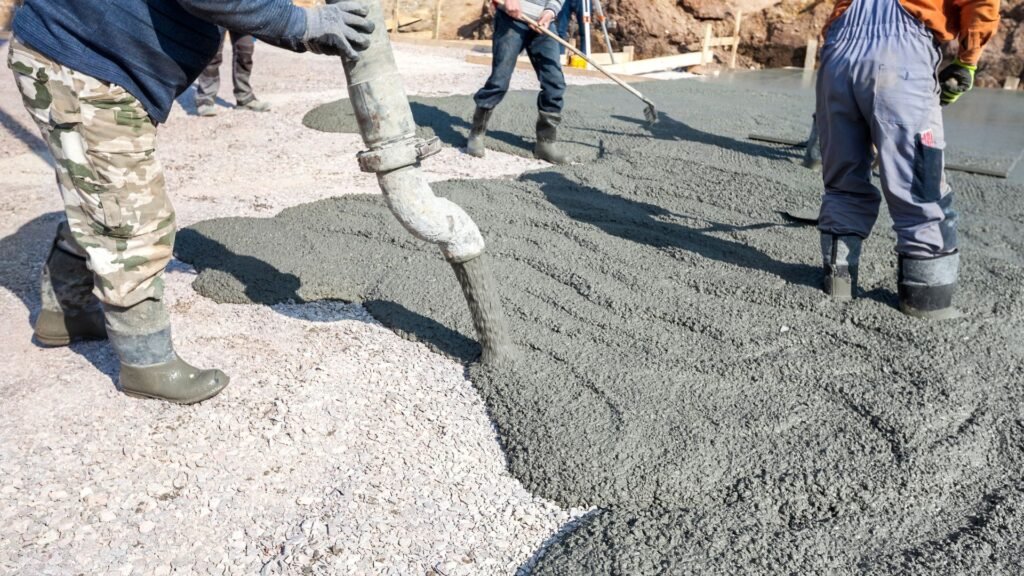
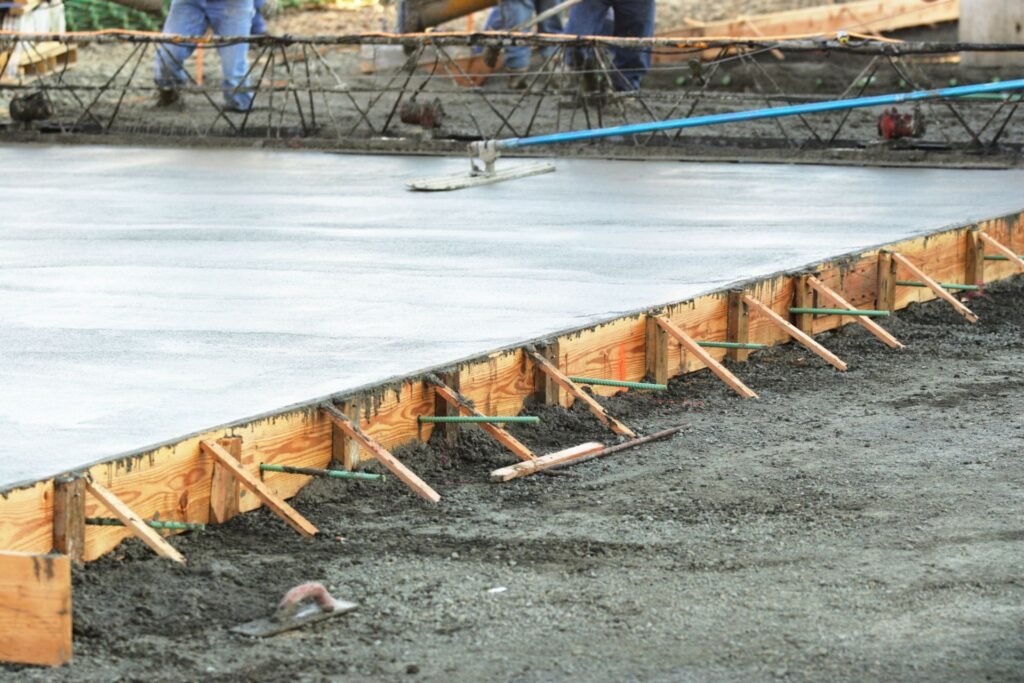
Step 5: Consider Resurfacing for Widespread Cracking (Optional)
If your driveway has numerous small cracks or an overall rough surface, you may want to consider resurfacing the entire area. Resurfacing not only fixes cracks but also gives your driveway a smooth, like-new finish.
To resurface, start by mixing a concrete resurfacer in a bucket, following the product’s instructions carefully. Spread the resurfacer evenly over the driveway with a squeegee or trowel, making sure to cover all cracks and rough areas. This process can dramatically improve the appearance of your driveway and extend its life for years to come.
Final Thoughts
Repairing cracks in your concrete driveway is a relatively simple DIY project that can prevent bigger, more expensive repairs down the road. By following these steps, you can restore the appearance and structural integrity of your driveway, protecting it from further damage caused by weather and wear. Whether you’re fixing minor cracks or resurfacing the entire driveway, the key is thorough preparation and careful application of the right materials for long-lasting results.
With a clean, smooth, and well-maintained driveway, you’ll boost your home’s curb appeal while avoiding costly repairs in the future.

Post-Repair Maintenance: Sealing And Protecting Your Driveway
Importance of Sealing Your Driveway
Sealing your driveway after completing repairs is a crucial step in ensuring its longevity. Without proper sealing, your driveway is vulnerable to the elements, especially water, which can seep into small cracks and expand during freeze-thaw cycles. Over time, this can lead to larger cracks and even structural damage. Sealing acts as a protective barrier, preventing moisture from penetrating the surface and reducing the chances of future cracking. Additionally, it shields your driveway from oil, chemicals, and the sun’s UV rays, which can cause fading or surface weakening.
By regularly sealing your driveway, you’re essentially investing in its long-term durability and maintaining its aesthetic appeal. Not only does sealing enhance the appearance by giving the concrete a fresh, clean look, but it also helps preserve the structural integrity of your driveway, saving you money on future repairs.
How to Apply a Concrete Sealer
Proper application of a concrete sealer after repairs is essential to maximize its protective benefits. Here’s a step-by-step guide to applying a concrete sealer:
1. Clean the Surface Again After Repairs
Before applying the sealer, ensure the driveway is clean and free of any debris, dirt, or leftover repair materials. Sweep the surface thoroughly and, if needed, wash it with a power washer to remove any stubborn dirt. A clean surface ensures that the sealer adheres properly to the concrete, offering maximum protection.
2. Roll or Spray the Sealant Onto the Concrete Surface
Depending on the type of sealer you choose, you can either roll it on with a paint roller or spray it on using a garden sprayer. Both methods work well, but ensure that the sealer is applied evenly across the entire surface. Follow the manufacturer’s instructions on the quantity and technique for application. Applying a thick, even coat will help create a uniform protective layer.
3. Allow It to Dry Fully Before Parking or Walking on It
Once the sealer is applied, give it ample time to dry completely. This can take anywhere from 24 to 48 hours, depending on the product used and weather conditions. Avoid walking or driving on the driveway until the sealant is fully cured, as premature use can compromise its effectiveness.
Long-Term Care Tips for Your Sealed Driveway
To keep your driveway in top condition after sealing, follow these long-term maintenance tips:
Sweep and Clean Regularly to Remove Debris
Regular cleaning is vital to prevent dirt, leaves, and other debris from accumulating on the surface. Sweeping your driveway often helps maintain its appearance and ensures that no abrasive materials damage the surface over time.
Re-seal the Driveway Every 2-3 Years
To prolong the life of your driveway, it’s essential to reapply a concrete sealer every two to three years. Over time, the protective barrier wears down due to weather exposure, foot traffic, and vehicles. Re-sealing helps refresh the protective layer, keeping your driveway in optimal condition for years to come.
By implementing these steps, you can ensure that your driveway remains crack-free, durable, and visually appealing for years. Proper post-repair maintenance, including sealing and regular care, is a small investment that yields long-lasting benefits.

Common Mistakes To Avoid When Repairing A Concrete Driveway
Repairing a concrete driveway may seem straightforward, but it’s easy to make costly mistakes if you’re not aware of the right techniques. Here are some of the most common pitfalls people encounter when tackling this kind of project and how to avoid them:
1. Using the Wrong Type of Filler
One of the most frequent errors is choosing the wrong filler for the size of the crack. Crack fillers come in various formulations designed for specific widths and depths. If you use a filler meant for small hairline cracks on a large gap, the repair won’t hold up, and the crack may reappear. Always check the manufacturer’s guidelines on the packaging and ensure you’re selecting the right filler for the job, whether you’re dealing with a minor surface crack or something deeper.
2. Rushing the Curing Process
Patience is key when repairing concrete. One of the worst mistakes you can make is rushing the curing process. While it might be tempting to hurry things along so you can get back to using your driveway, this can significantly weaken the repair. Filler products need adequate time to cure fully and bond with the surrounding concrete. If not given enough time, the repaired area becomes more prone to wear, leading to premature cracking or chipping. Follow the manufacturer’s recommended curing time, which may vary based on temperature and humidity.
3. Ignoring Drainage Issues
Cracks in concrete driveways are often caused by underlying issues, such as poor water drainage. Simply filling cracks without addressing these root causes is a short-term fix. If water continues to pool or seep under your driveway, it will lead to further damage over time. Before you start any repairs, inspect your driveway for drainage issues, such as low spots where water tends to collect. Consider adding a proper drainage solution like French drains or sloping adjustments to ensure water is diverted away from your driveway.
4. Resurfacing Too Early
Another common mistake is applying a concrete resurfacer before properly addressing existing cracks. Resurfacing can give your driveway a fresh, new look, but if the cracks underneath aren’t filled and stabilized, the resurfacer will not bond correctly, leading to uneven surfaces. This could also result in new cracks forming over time. Take the necessary steps to fill all cracks thoroughly, then allow them to cure before applying any resurfacing product. This ensures a smooth, long-lasting finish.
Repairing your concrete driveway requires attention to detail and patience to ensure the job is done correctly. By avoiding these common mistakes—using the wrong filler, rushing the curing process, ignoring drainage issues, and resurfacing too early—you can extend the life of your driveway and avoid future repairs. A well-maintained driveway not only boosts curb appeal but also saves you money in the long run. Take your time, use the right materials, and address any underlying issues for a durable, lasting repair.
When To Call A Professional
Maintaining your driveway is essential for ensuring both safety and curb appeal. While small repairs can often be handled on your own, certain issues may require the expertise of a professional. Here’s when it makes sense to call in the pros:
1. Large Cracks or Structural Issues
If your driveway has cracks larger than ¼ inch wide or is showing signs of significant heaving (where parts of the driveway have shifted or become uneven), this could indicate deeper structural problems. Large cracks may allow water to seep in, leading to further damage and, eventually, costly repairs. While smaller cracks can sometimes be patched with DIY solutions, large cracks, especially those that affect the integrity of the entire driveway, are better handled by professionals. A contractor will assess the extent of the damage and determine the right course of action, whether it’s resurfacing, filling, or a complete replacement.
2. Concrete Leveling or Replacement
Sometimes, driveways develop uneven sections, often due to soil shifting or settling beneath the surface. This can lead to tripping hazards and reduce the overall aesthetic appeal. In cases where the unevenness is widespread, professionals can use advanced techniques like slab jacking or polyurethane injections to level the concrete. These methods involve injecting a specialized material beneath the slab to lift and stabilize it, making the surface level again. These are not typically DIY-friendly jobs, as they require specialized equipment and knowledge to get right. For more significant structural issues, a full driveway replacement may be necessary.
3. Cost Considerations
One of the biggest factors in deciding whether to tackle a repair yourself or hire a professional is cost. For minor cracks and surface repairs, a DIY fix can range from $20 to $200, depending on the materials used. However, for more serious repairs that require leveling or replacement, professional costs can vary widely. On average, slab jacking can cost between $500 to $1,500, while a complete driveway replacement might range from $4,000 to $10,000 or more, depending on the size of your driveway and the materials used. Though professional repairs may come with a higher upfront cost, they offer long-term durability and peace of mind that the job is done correctly.
In conclusion, while small driveway repairs can be tackled as weekend projects, it’s important to recognize when a job is beyond your skill set. Large cracks, significant structural issues, or the need for specialized tools should be a signal to bring in professional help. The cost may be higher, but the investment will ensure the longevity and safety of your driveway.

FAQs: About How do you repair an old cracked concrete driveway
What causes cracks in a concrete driveway?
Cracks in a concrete driveway can be caused by several factors, including temperature fluctuations (freeze-thaw cycles), soil movement, heavy loads, water erosion, and the natural aging process of concrete. These elements can put stress on the concrete, leading to the formation of cracks over time.
How do I know if my driveway needs repair or replacement?
If the cracks are small (less than ¼ inch wide) and surface-level, repairs are likely sufficient. However, if there are large cracks, sinking, or structural damage, it may be better to consider replacing the driveway. A professional assessment can help if you’re unsure.
Can I repair concrete driveway cracks myself?
Yes, many minor cracks in a concrete driveway can be repaired as a DIY project. With the right materials, such as concrete crack filler or patching compound, you can effectively fix small to medium cracks. For larger cracks or structural damage, professional help may be necessary.
What tools and materials do I need to repair cracks in a concrete driveway?
You’ll need a crack filler or patching compound, a wire brush, chisel and hammer, a trowel or putty knife, a pressure washer or hose, and safety equipment like gloves and goggles. If you’re resurfacing the driveway, you’ll also need a concrete resurfacer and a squeegee.
How long does it take to repair a cracked driveway?
The time required depends on the extent of the cracks and the method used for repair. Cleaning and preparing the cracks can take 1-2 hours, while applying the filler or patch can take another hour. Allow 24-48 hours for the material to fully cure before using the driveway.
Should I seal my driveway after repairing the cracks?
Yes, sealing your driveway after repairs helps protect it from future damage caused by water, chemicals, and weather elements. Sealing prevents moisture from seeping into the cracks and can extend the lifespan of the repair and the driveway itself.
Can I resurface my driveway instead of replacing it?
If your driveway has widespread but shallow cracks or a rough surface, resurfacing is an effective option. Concrete resurfacer can give your driveway a fresh, smooth finish without the need for costly replacement. However, deep structural cracks may still require additional repair before resurfacing.
How often should I seal my concrete driveway?
It’s generally recommended to seal your driveway every 2-3 years. This frequency depends on factors such as local weather conditions, the amount of traffic the driveway sees, and the quality of the initial sealant.
What are the most common mistakes to avoid when repairing a concrete driveway?
Some common mistakes include using the wrong filler for the size of the cracks, not cleaning the cracks thoroughly before applying the filler, rushing the curing process, and neglecting to address any underlying water drainage issues. These can all reduce the effectiveness of the repair.
When should I call a professional to repair my driveway?
If your driveway has large cracks (over ¼ inch wide), noticeable sinking, or severe damage that suggests structural issues, it’s best to call a professional. Professionals have the right tools and materials for major repairs or even full driveway replacement, ensuring a longer-lasting solution.
Conclusion
Cracked driveways are a common issue that many homeowners face, but with some time and effort, they can be easily managed before they worsen. Don’t let those cracks become bigger problems—taking action now can save you from more costly repairs in the future. Whether you’re ready to tackle the project yourself or prefer to consult a local expert, now is the perfect time to get started. With a little confidence, you can restore your driveway and boost your home’s curb appeal. If you have any questions or want to share your own experience, feel free to leave a comment below!
About the Author:
Mike Veail is a recognized digital marketing expert with over 6 years of experience in helping tradespeople and small businesses thrive online. A former quantity surveyor, Mike combines deep industry knowledge with hands-on expertise in SEO and Google Ads. His marketing strategies are tailored to the specific needs of the trades sector, helping businesses increase visibility and generate more leads through proven, ethical methods.
Mike has successfully partnered with numerous companies, establishing a track record of delivering measurable results. His work has been featured across various platforms that showcase his expertise in lead generation and online marketing for the trades sector.
Learn more about Mike's experience and services at https://theleadguy.online or follow him on social media: